|
Summer is coming to a close and in two weeks we will start back with remote learning for two weeks. Your teachers are getting ready for your return online and in the classroom! We have missed seeing you in person, but hope that everyone had a safe and fun Summer break. Things will be very different this year since we are trying to keep everyone safe and healthy. Some of you will be learning completely remote and some of you will be coming to school 2-3 days a week. As a specials team we will have something for every student to participate in. Remember that your specials assignments are not meant to be stressful! They are meant to be a time to take a break and do something fun that we have prepared for you. That's why we will be offering a variety of activities for you. In order to prepare lessons that you are going to LOVE I need your input! Please fill out the survey below as soon as you read this: I am so excited to get back to teaching you! Whether it's teaching you while you are at home or getting you see your smiling face in my classroom again, we will do our best to make this a successful school year. See you soon! 
0 Comments
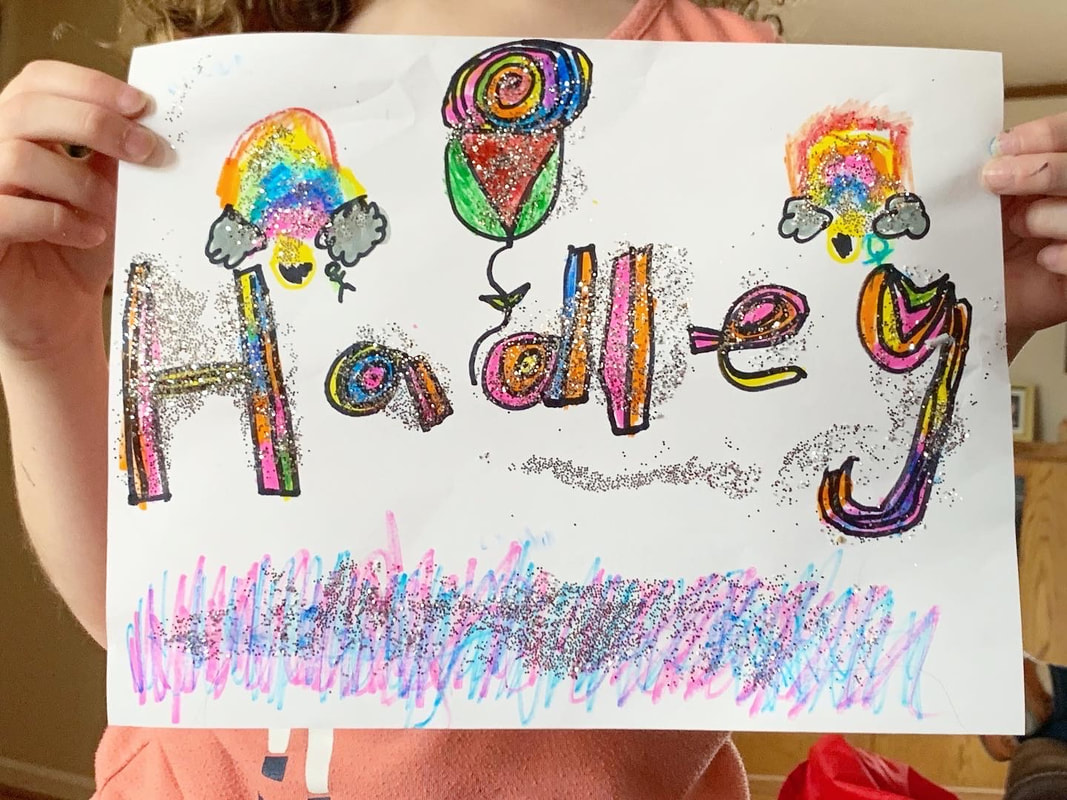
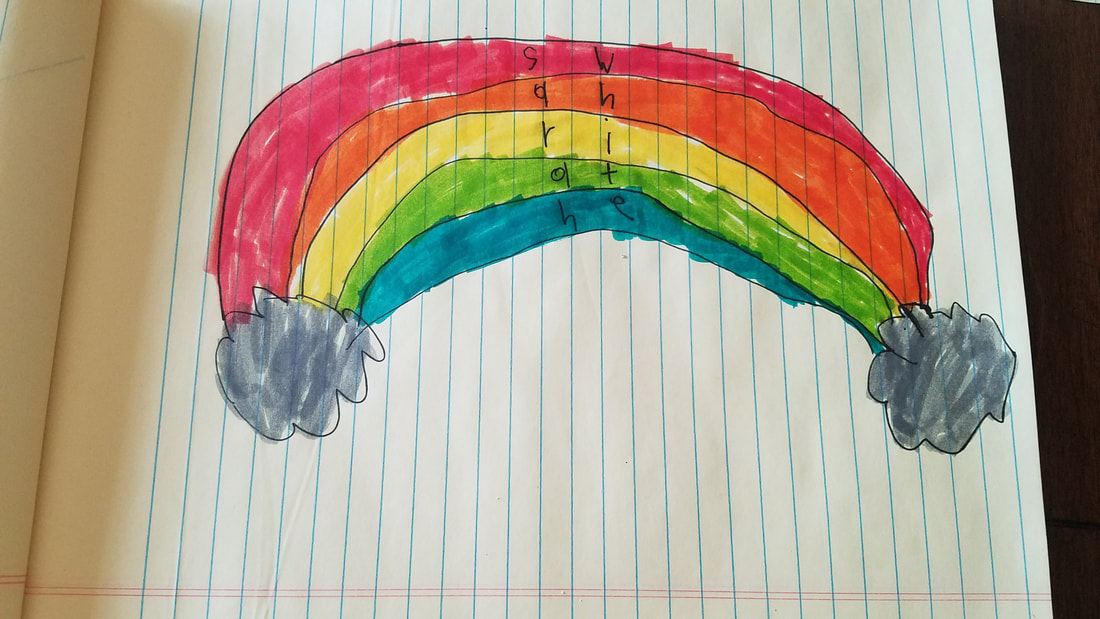
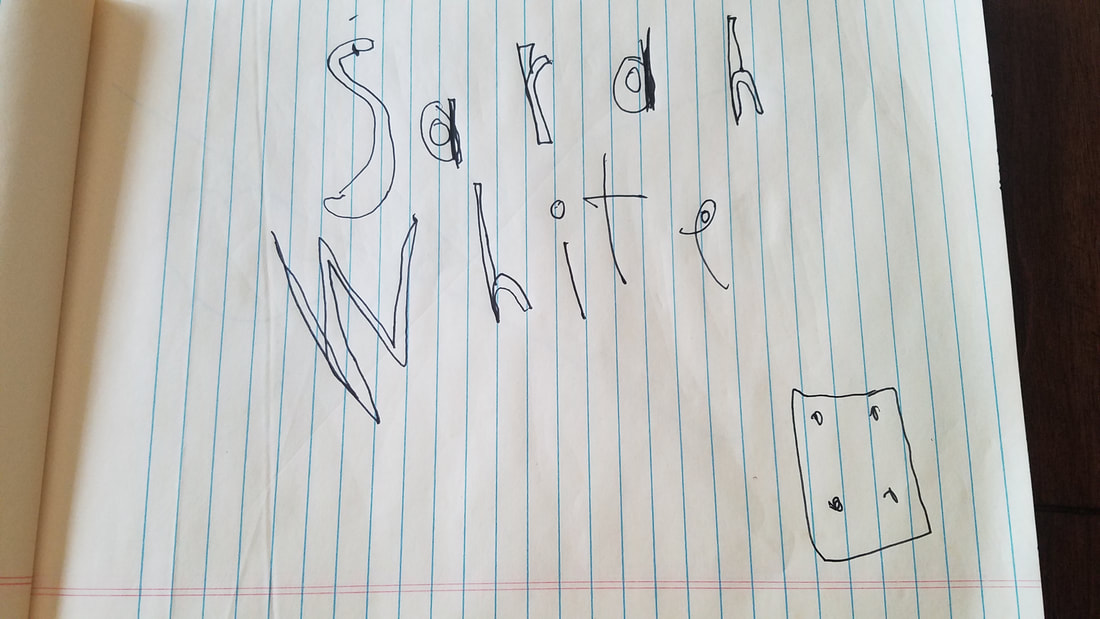
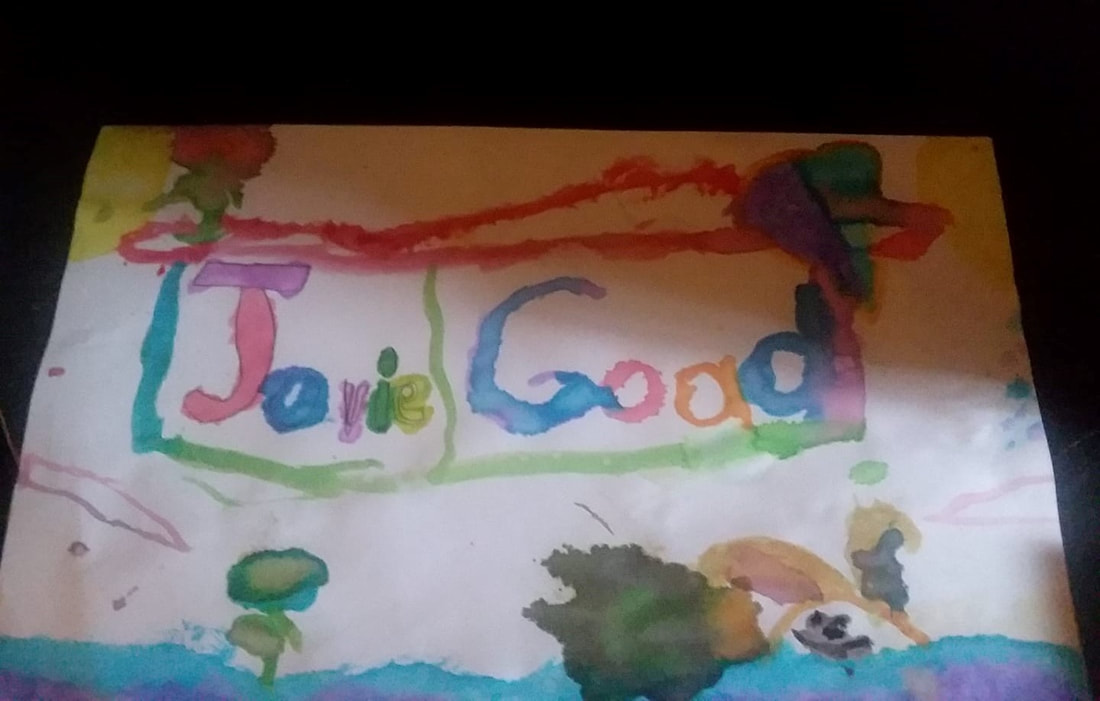
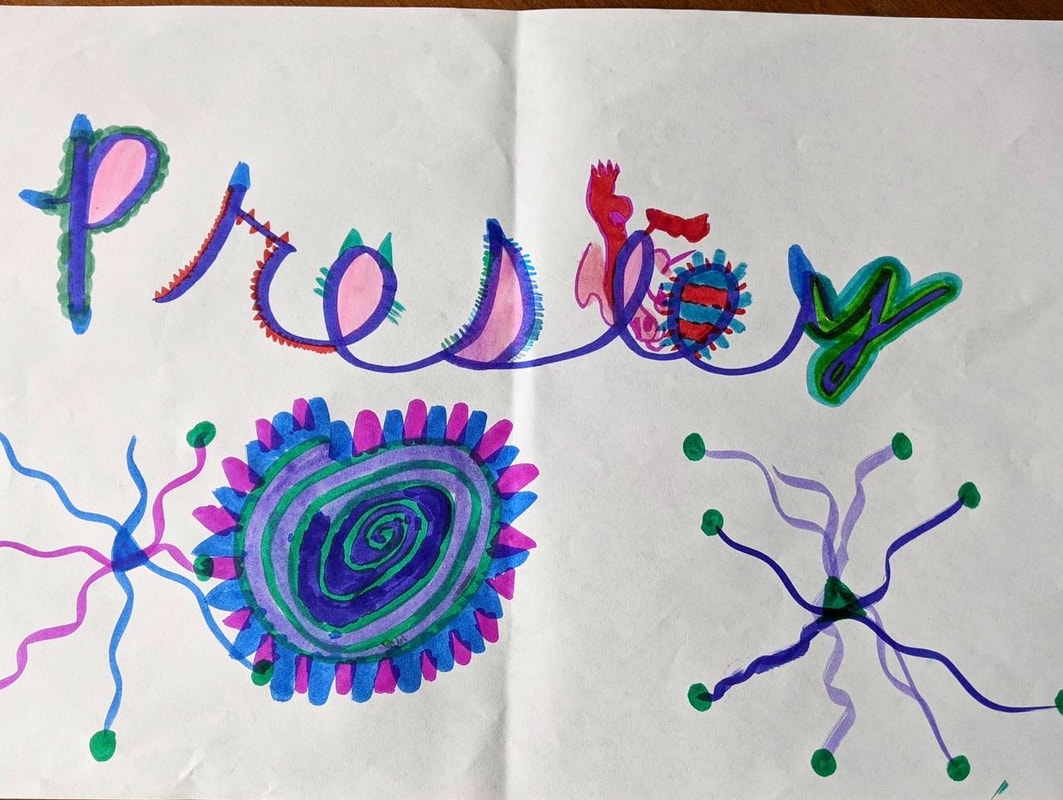
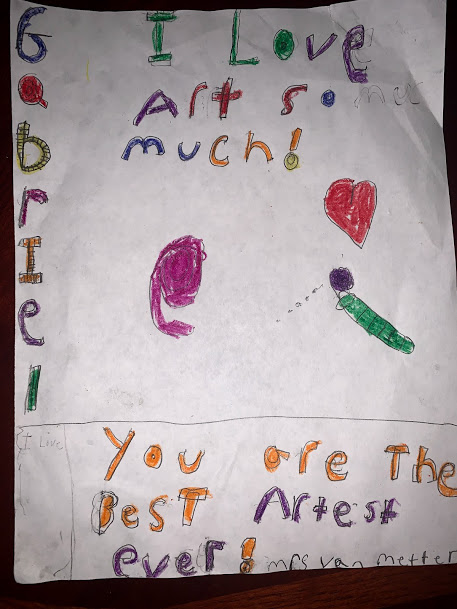
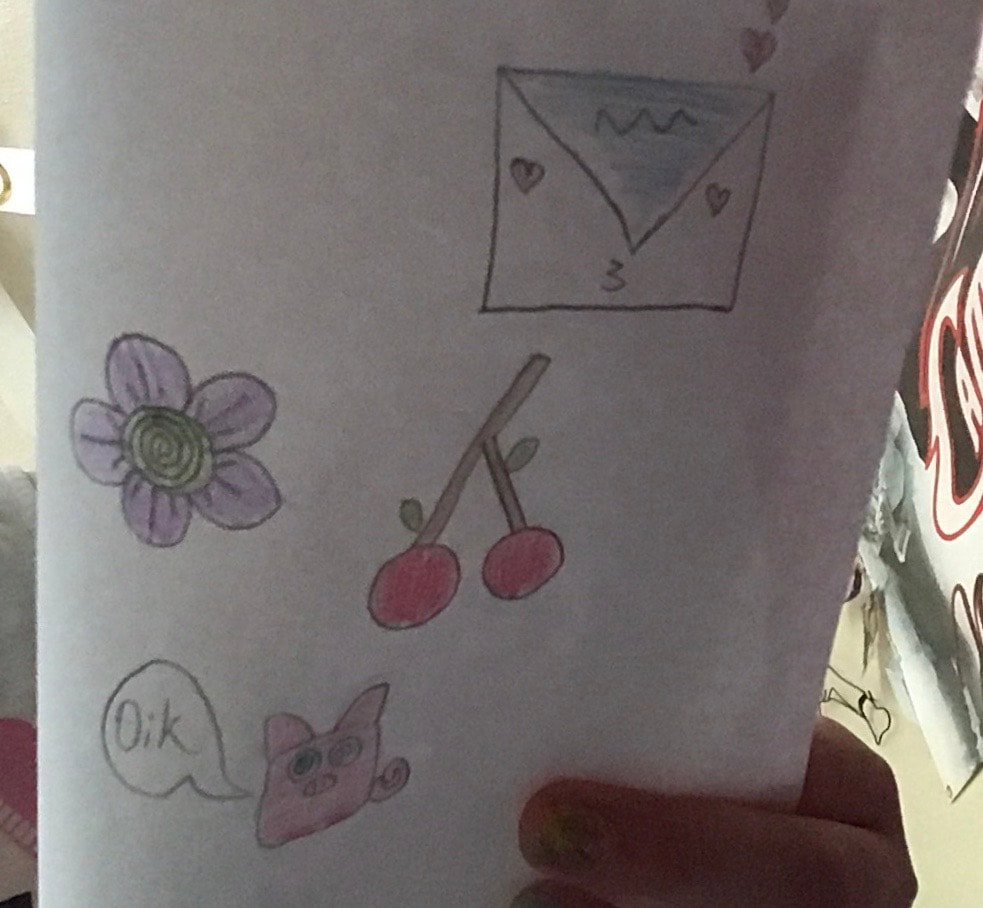
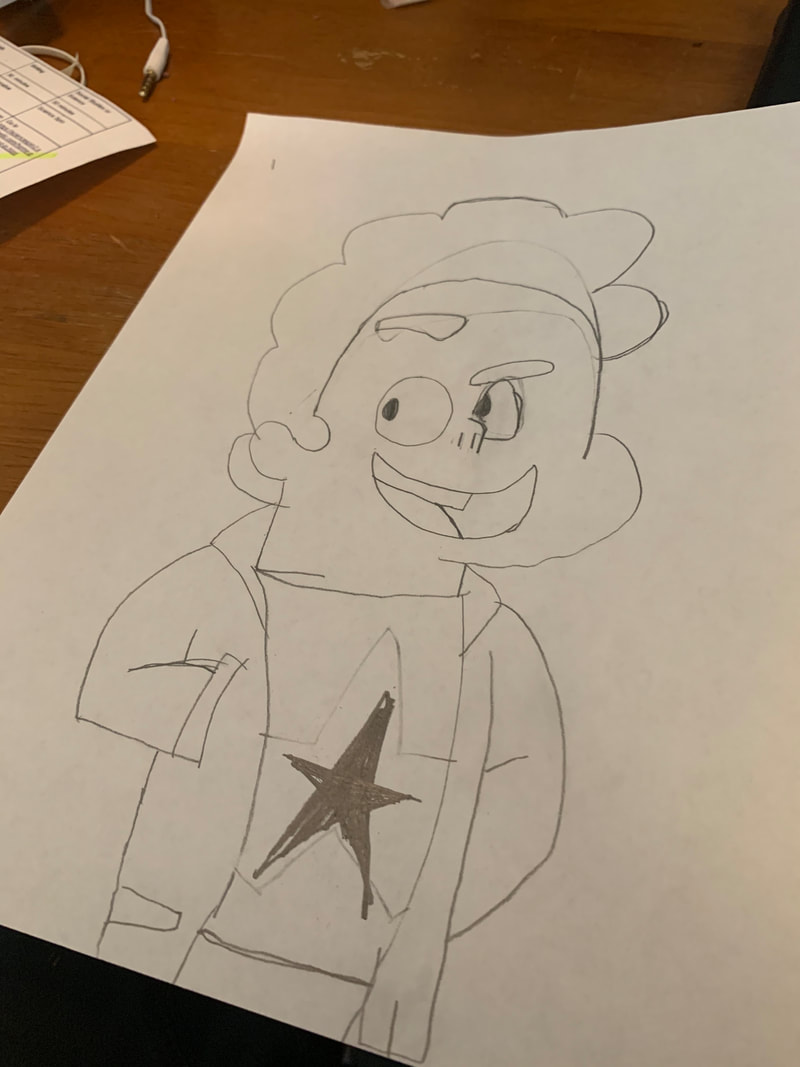
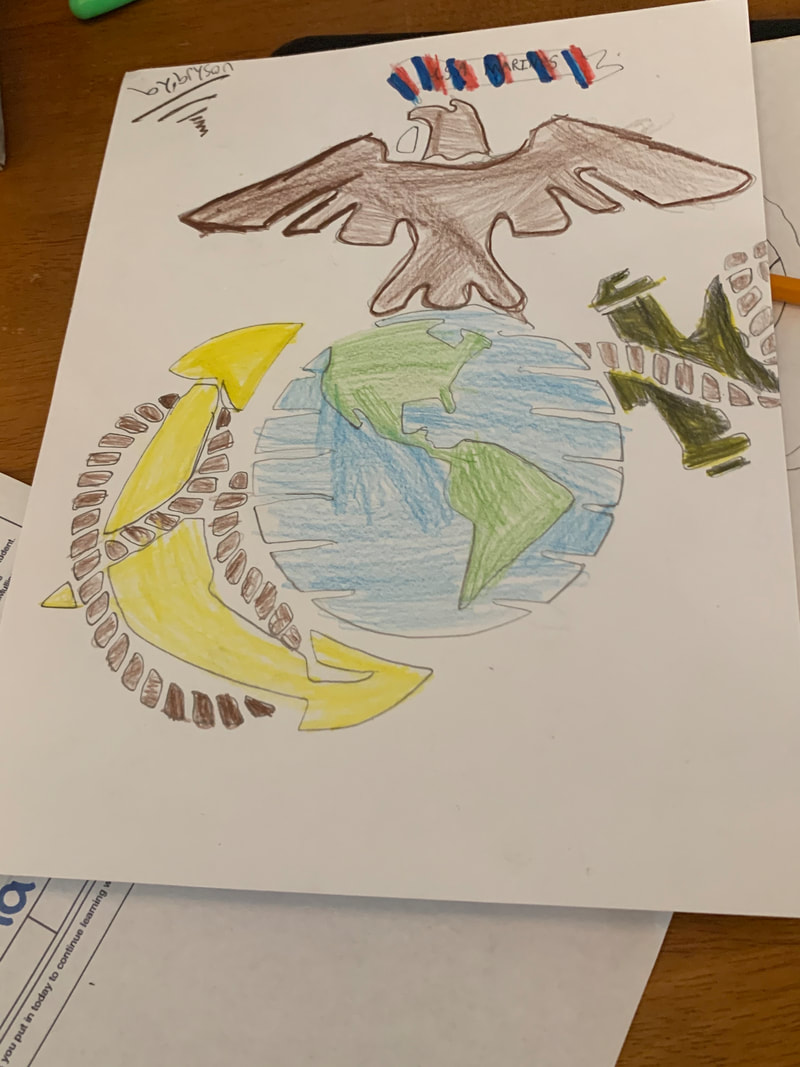
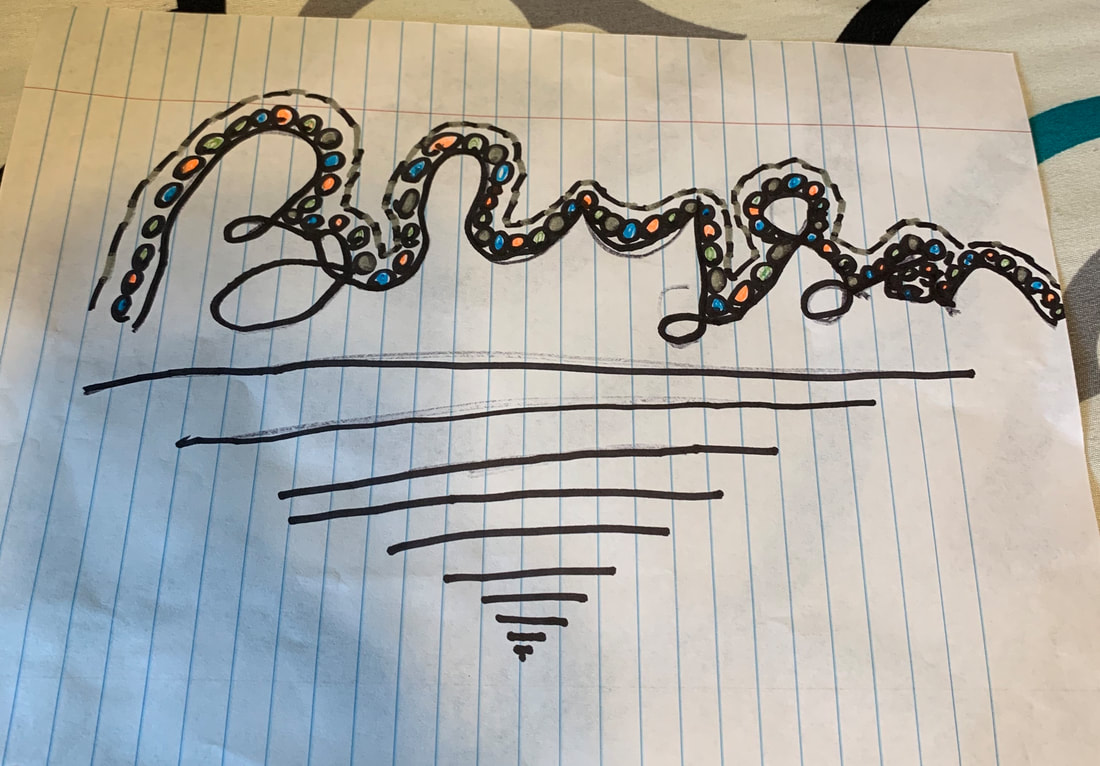
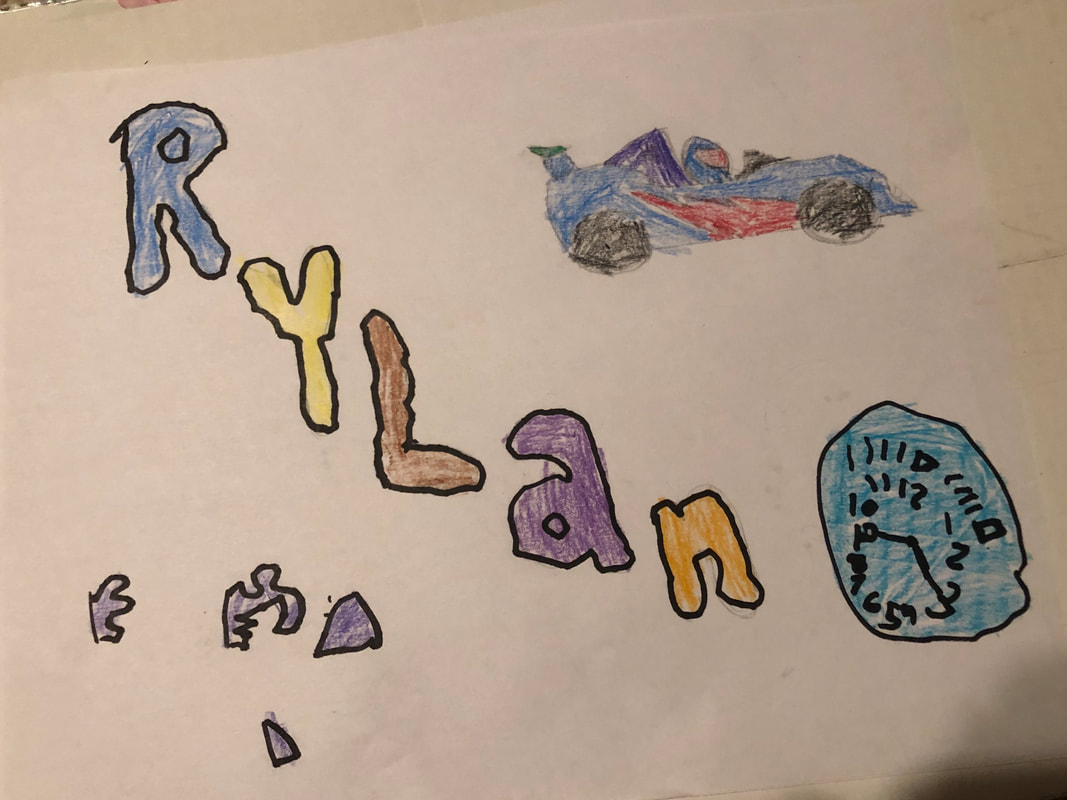
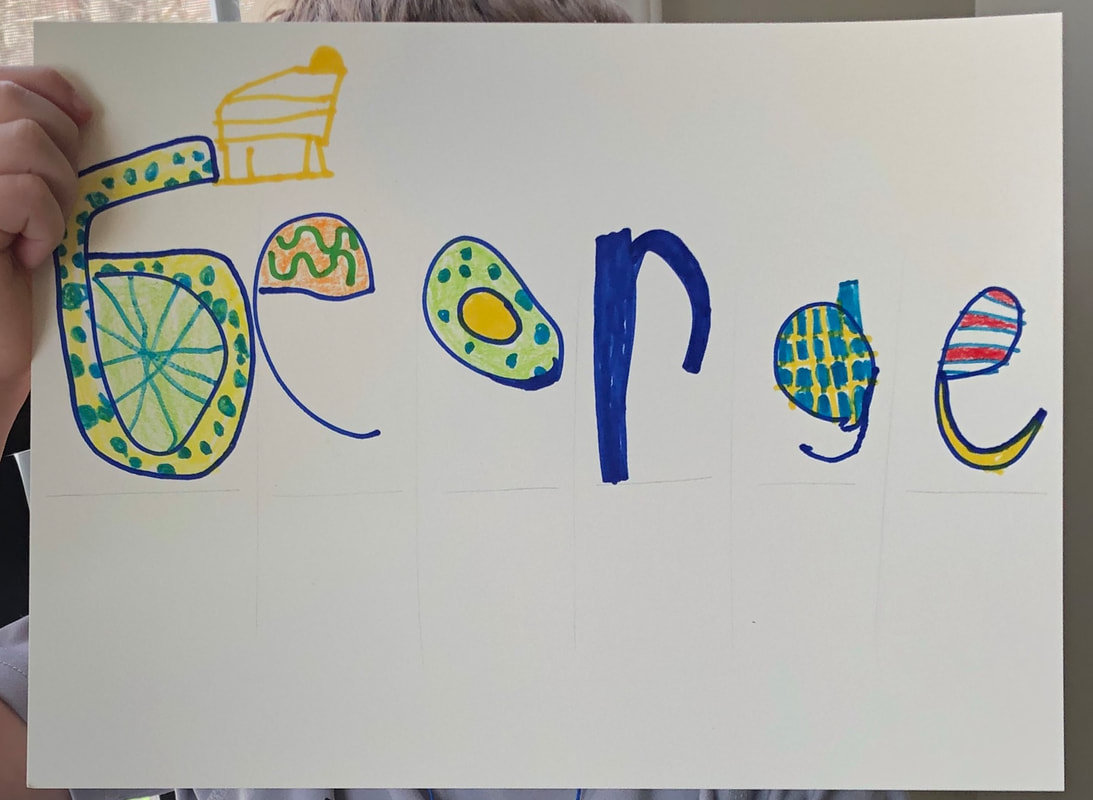
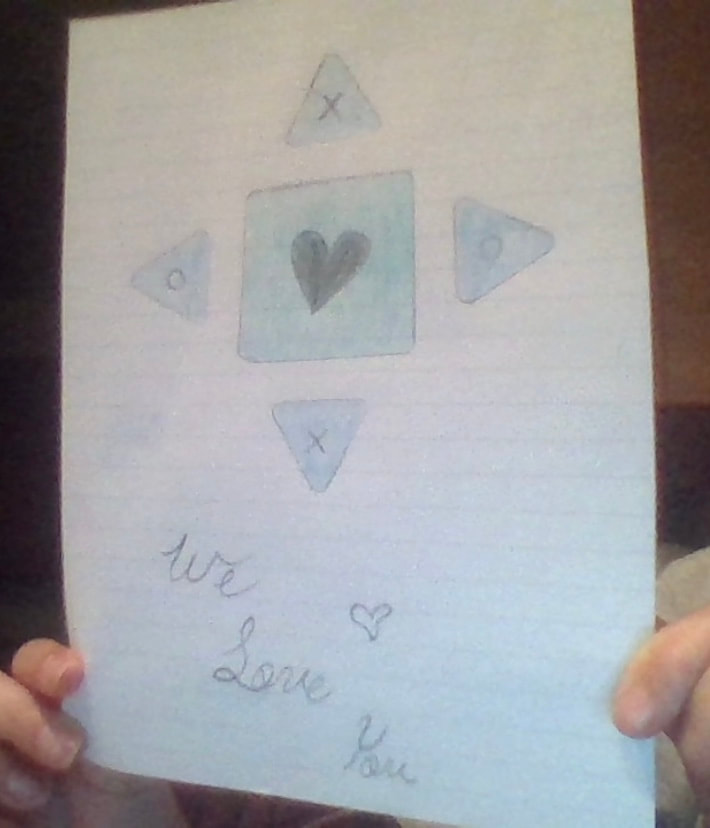
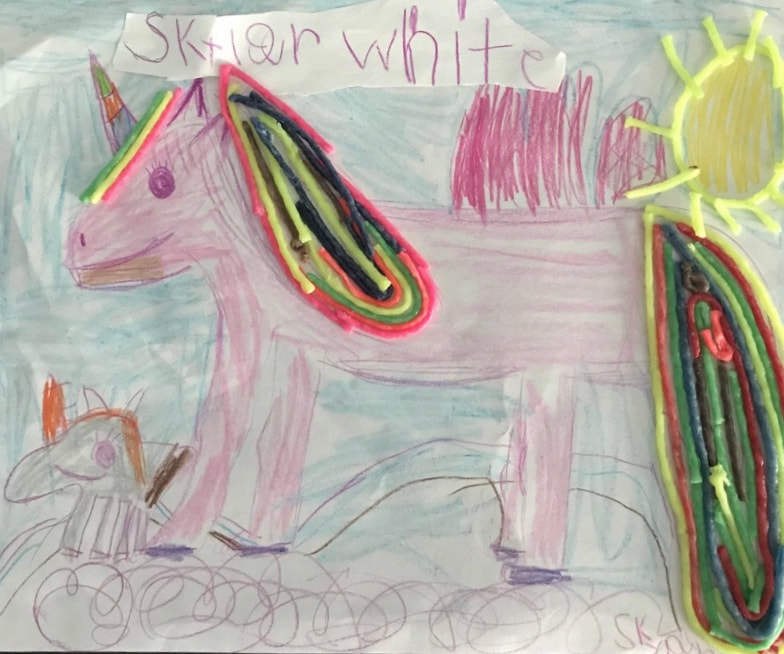
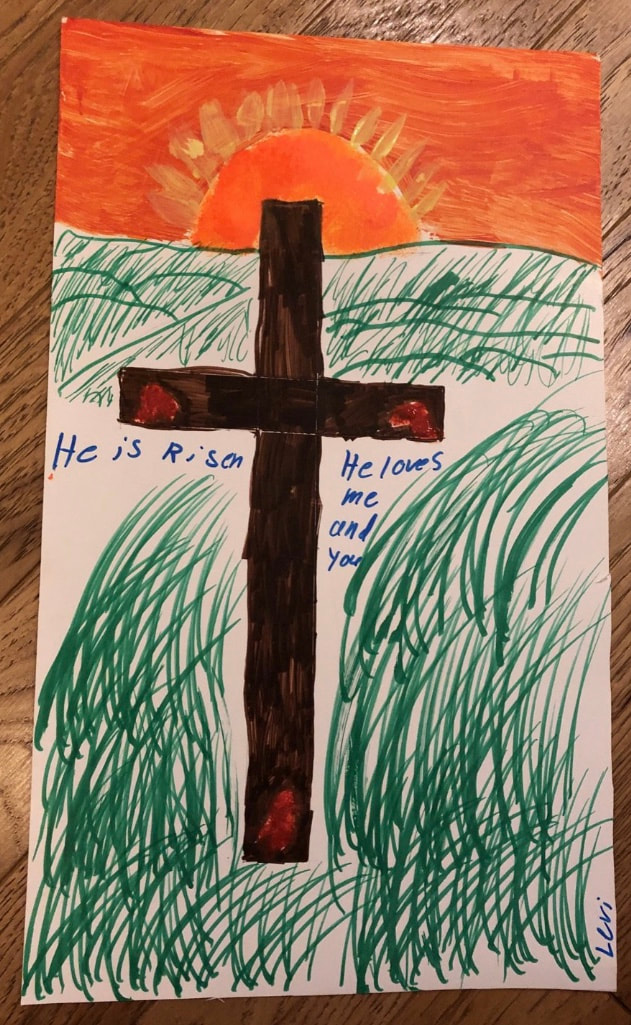
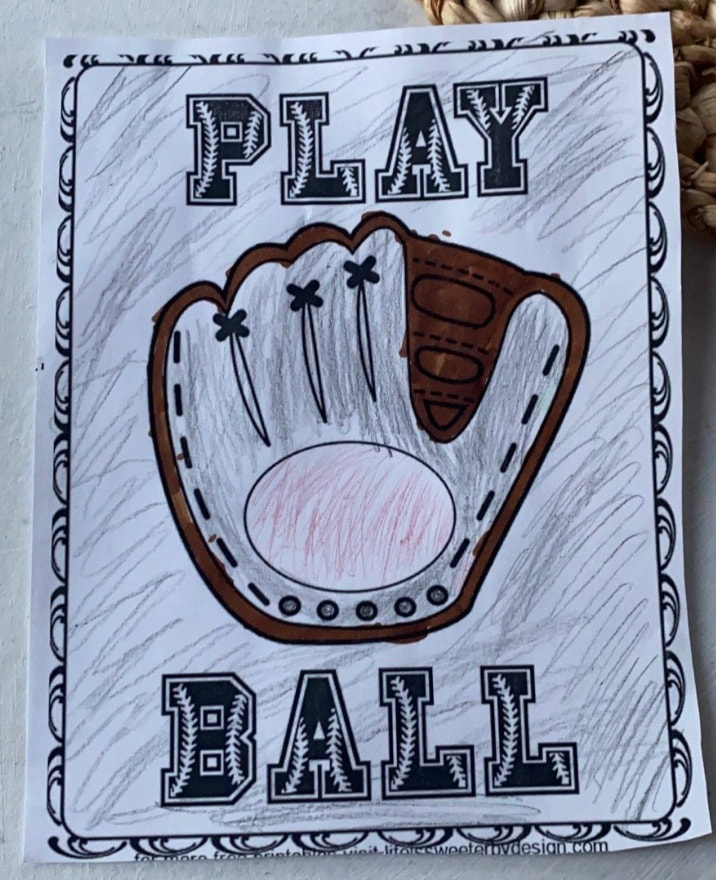
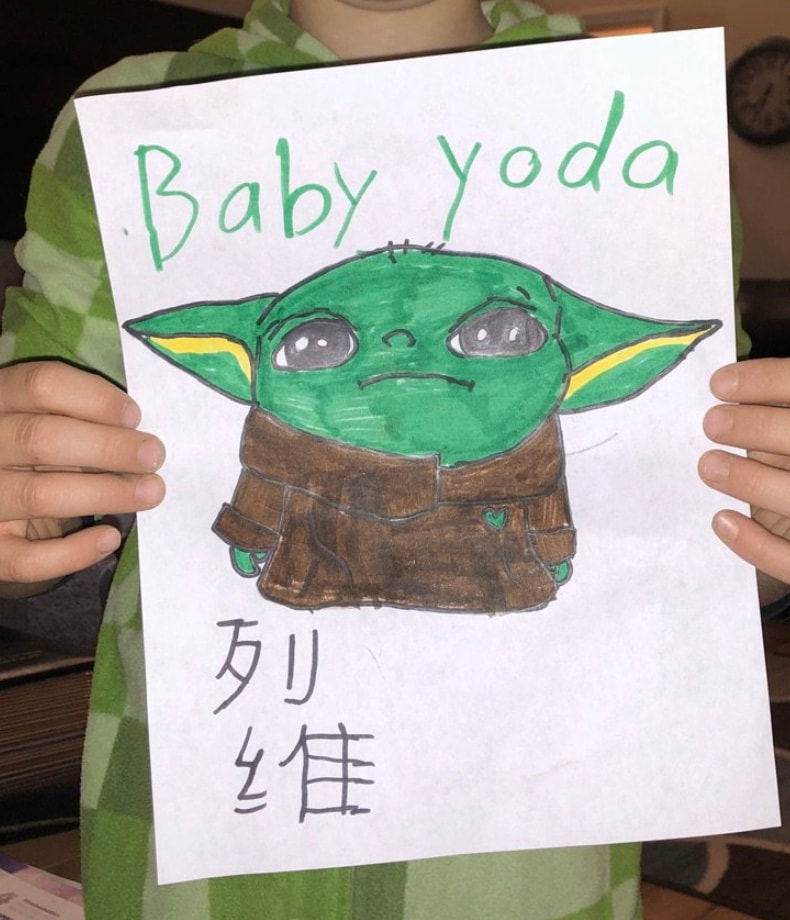
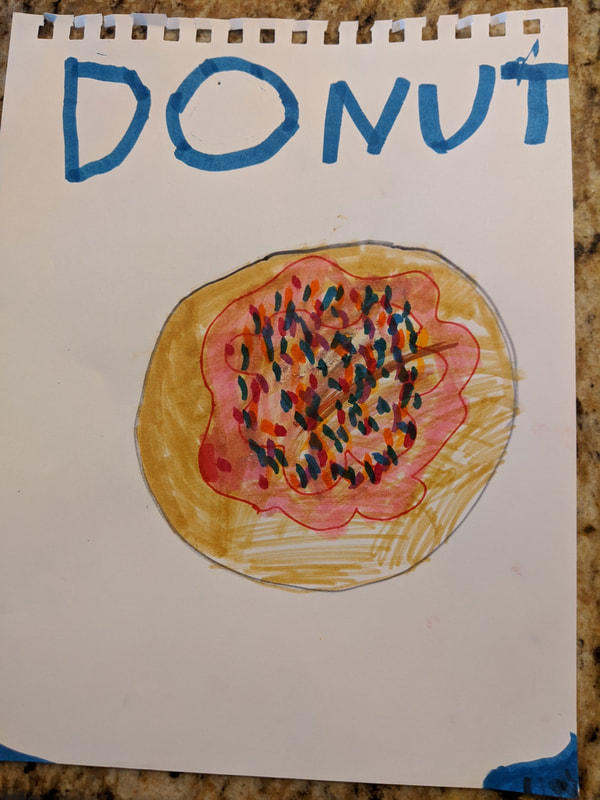
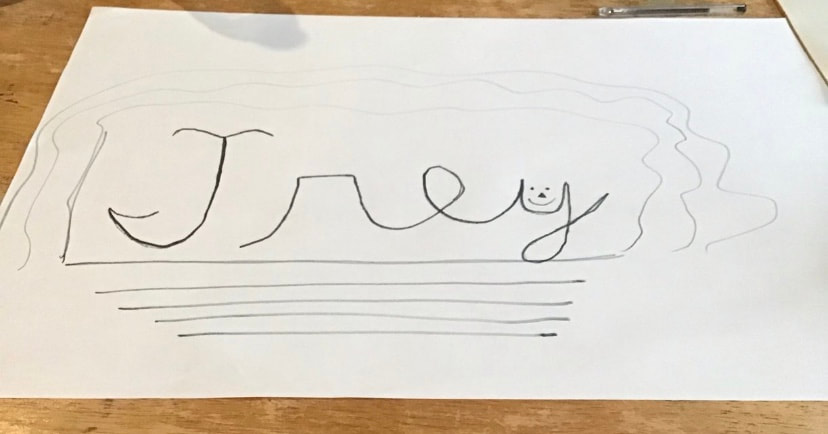
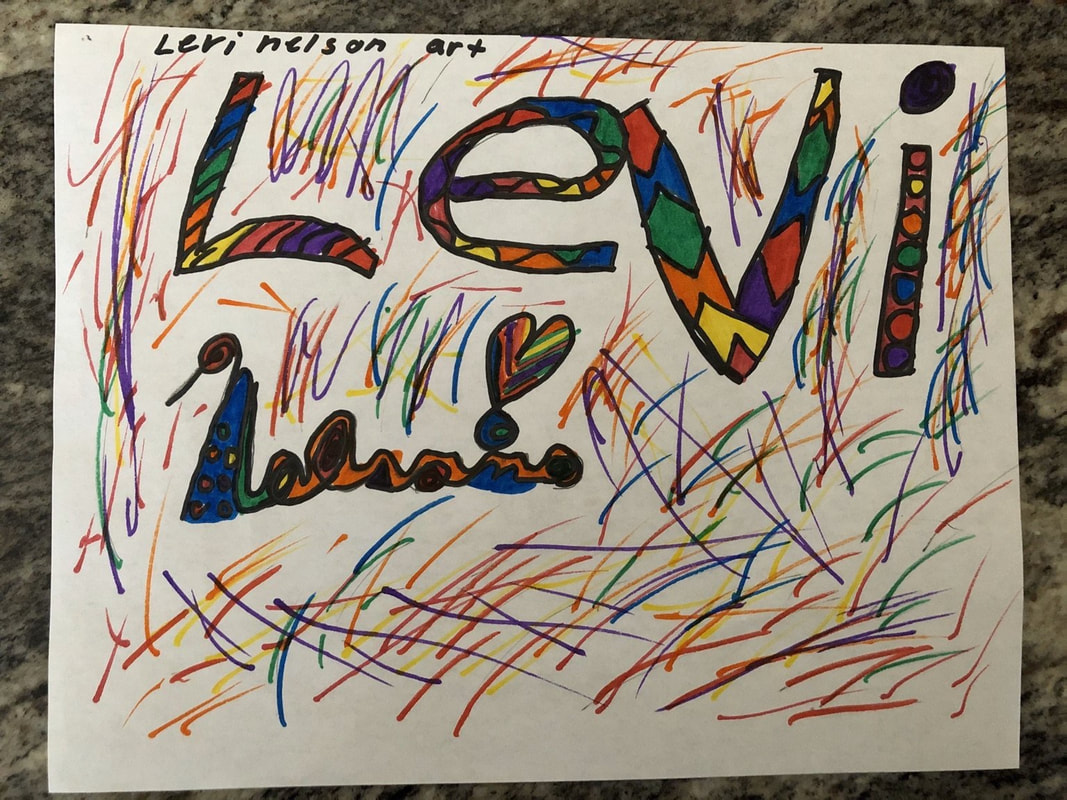
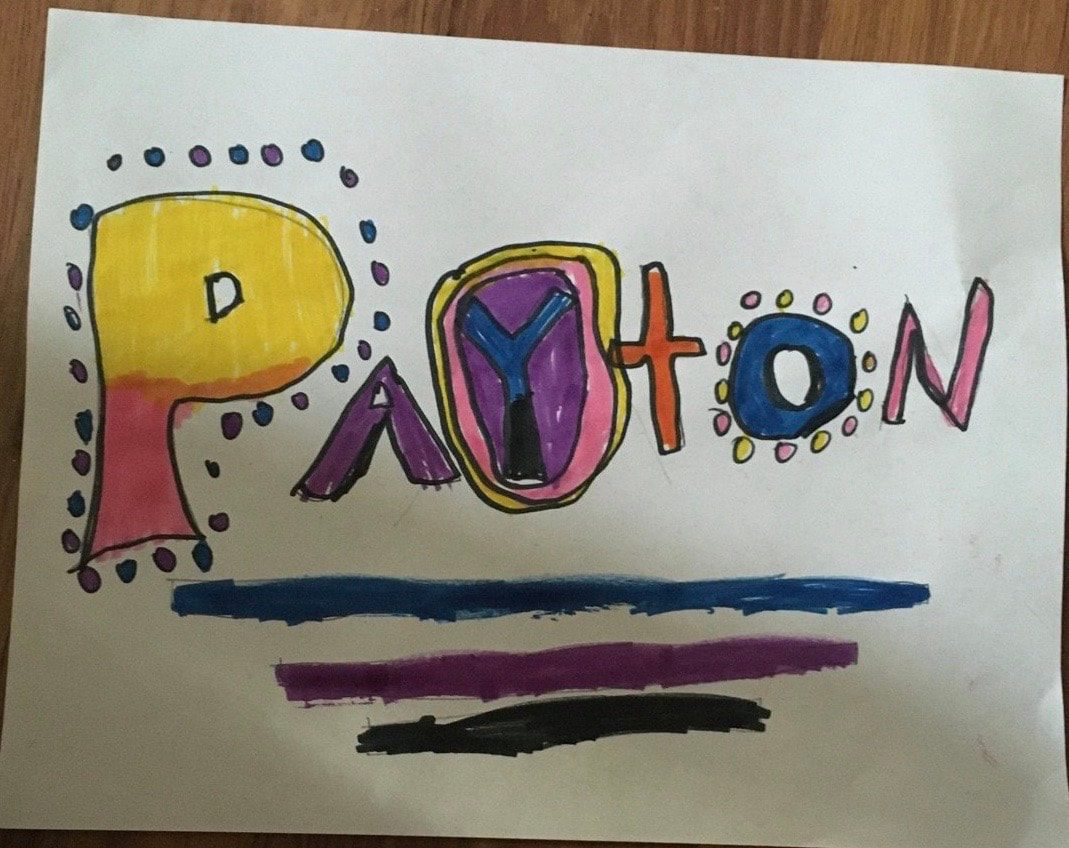
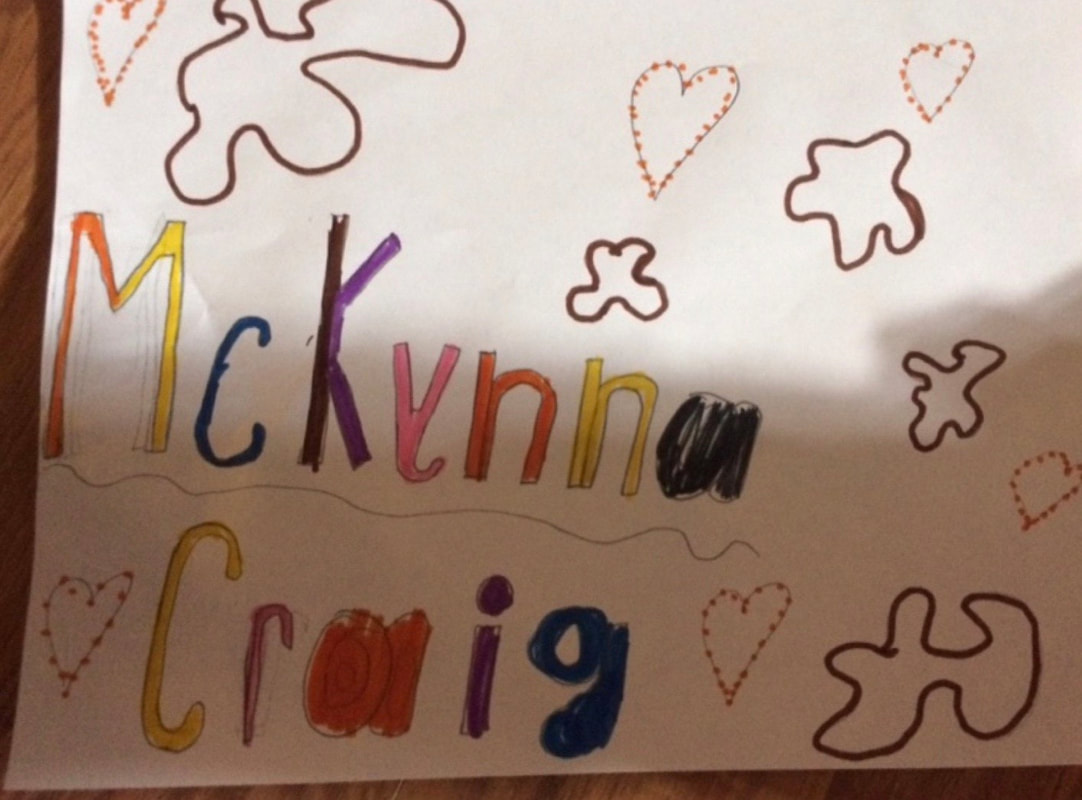
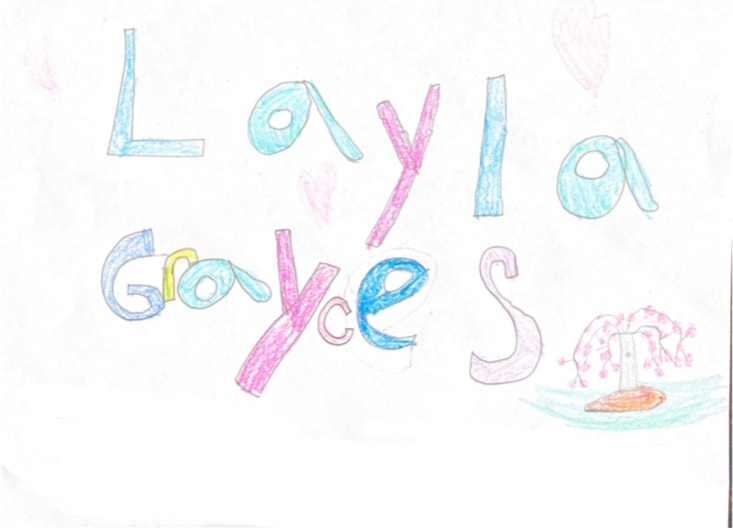
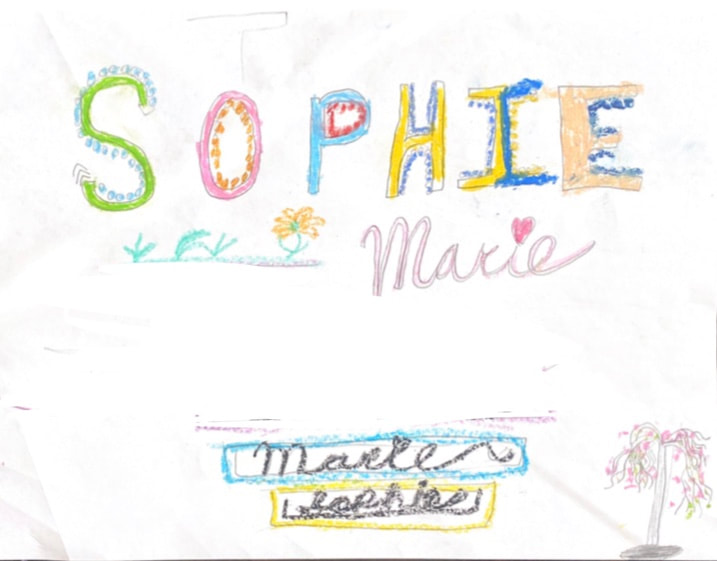
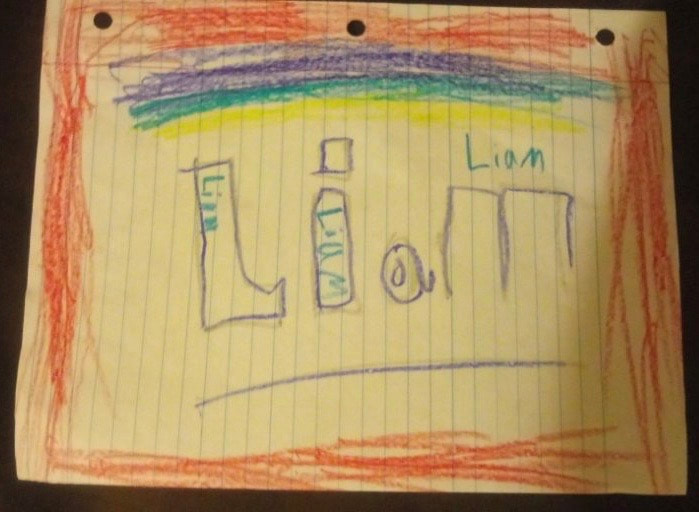
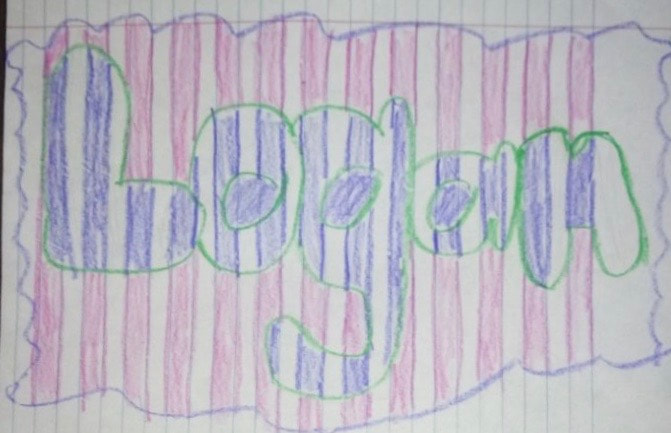
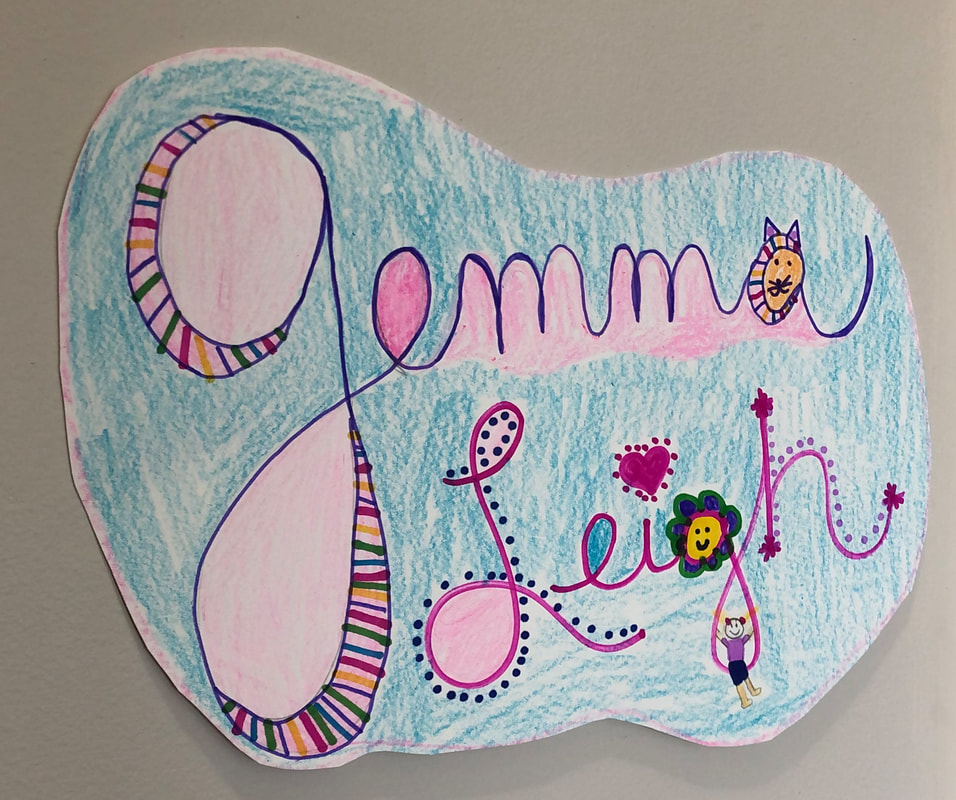
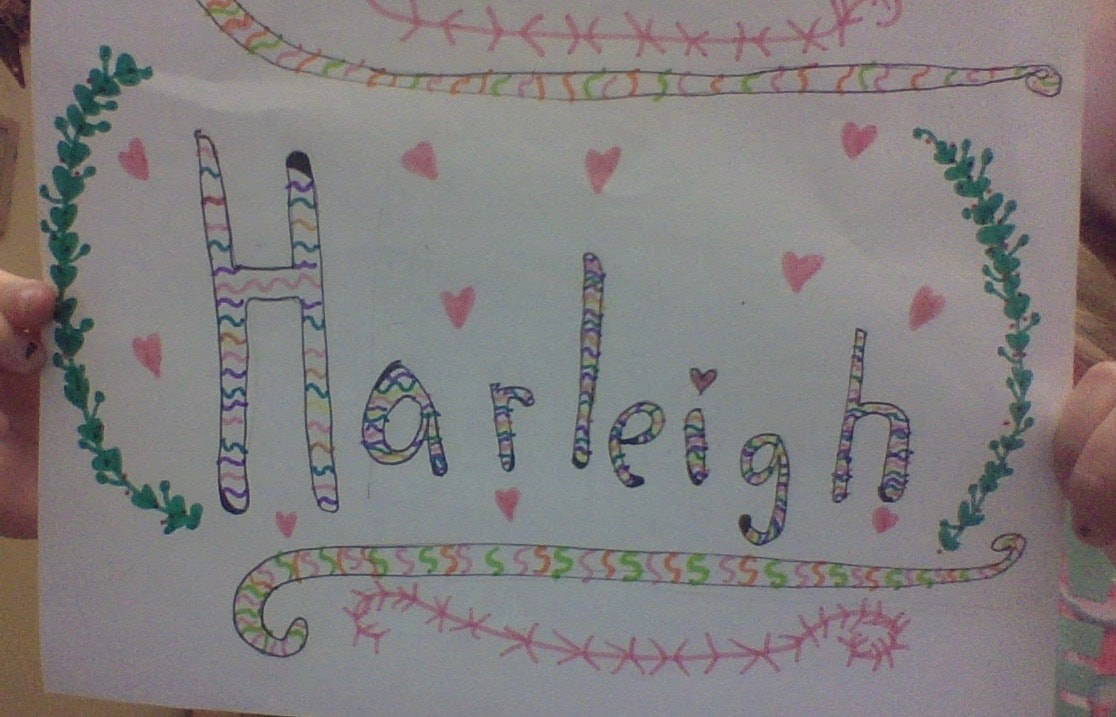
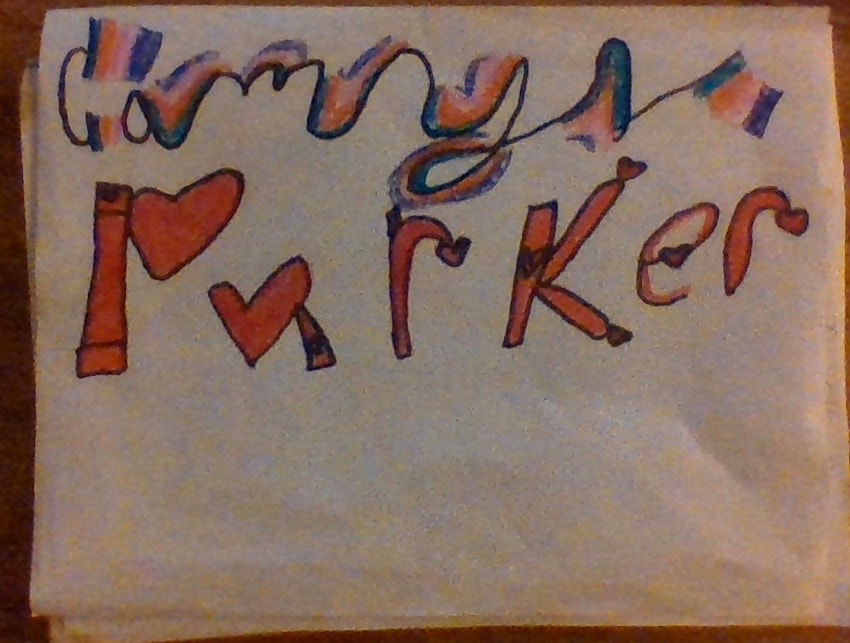
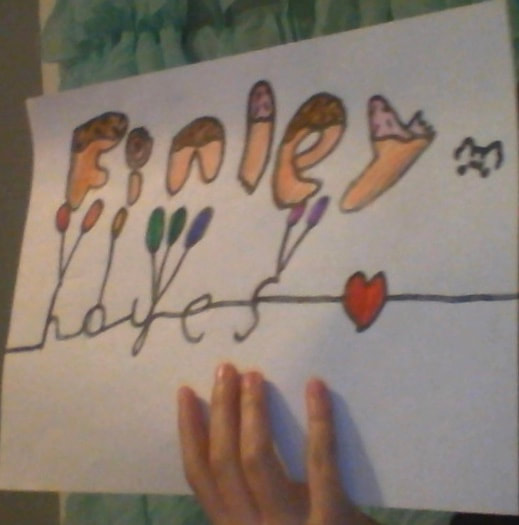
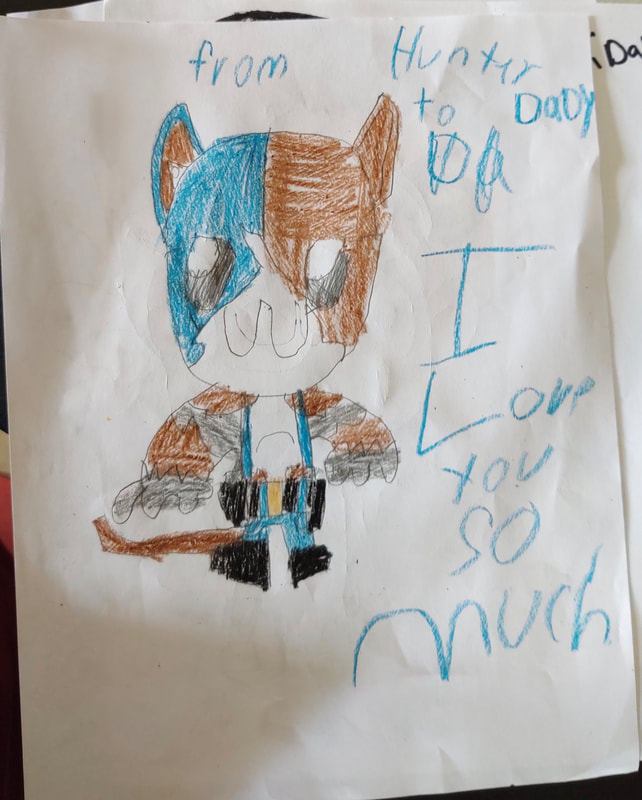
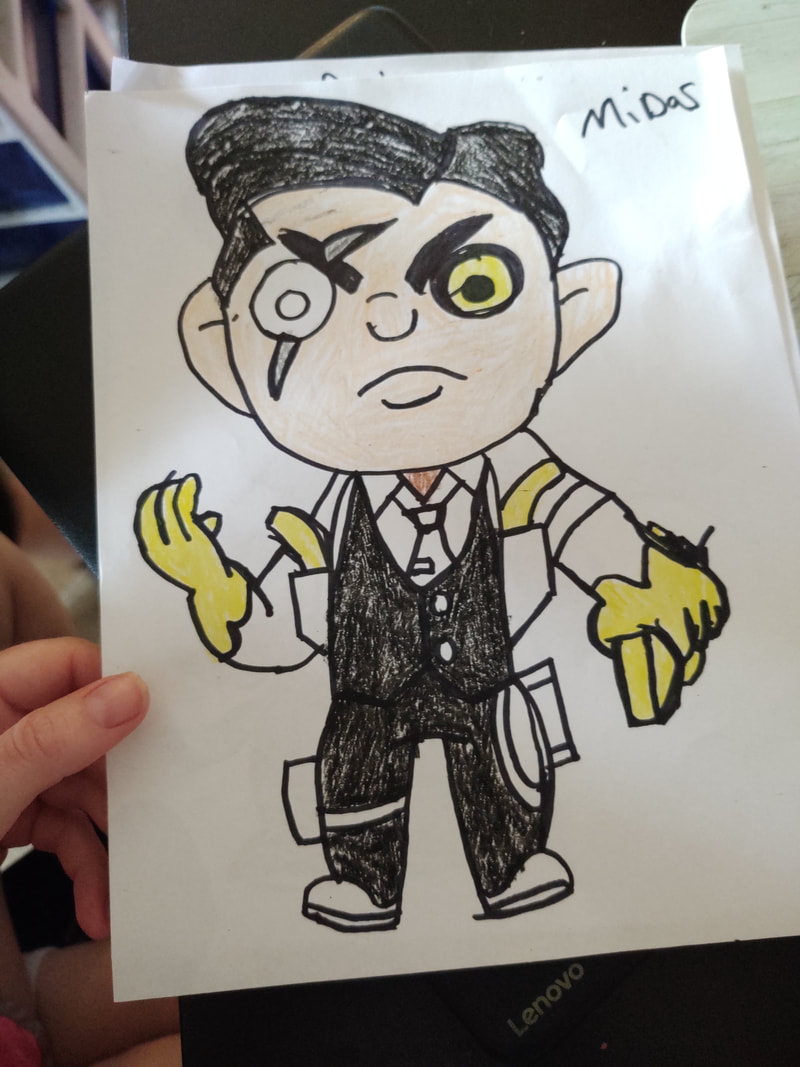
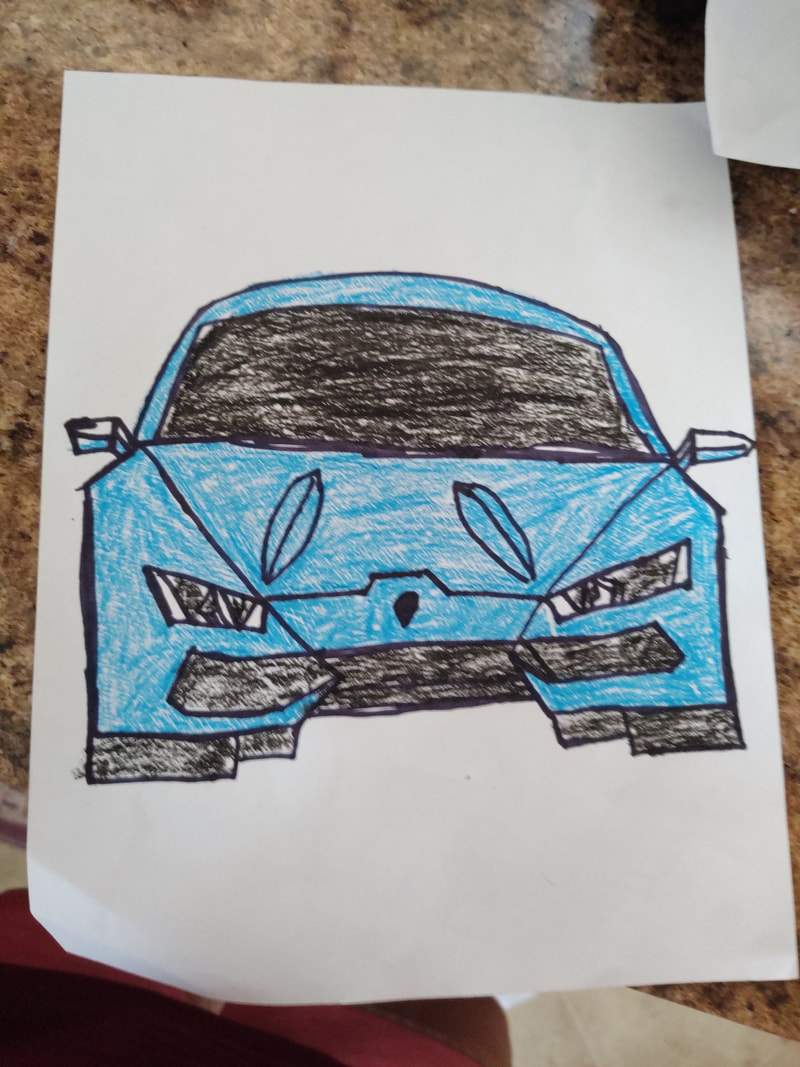
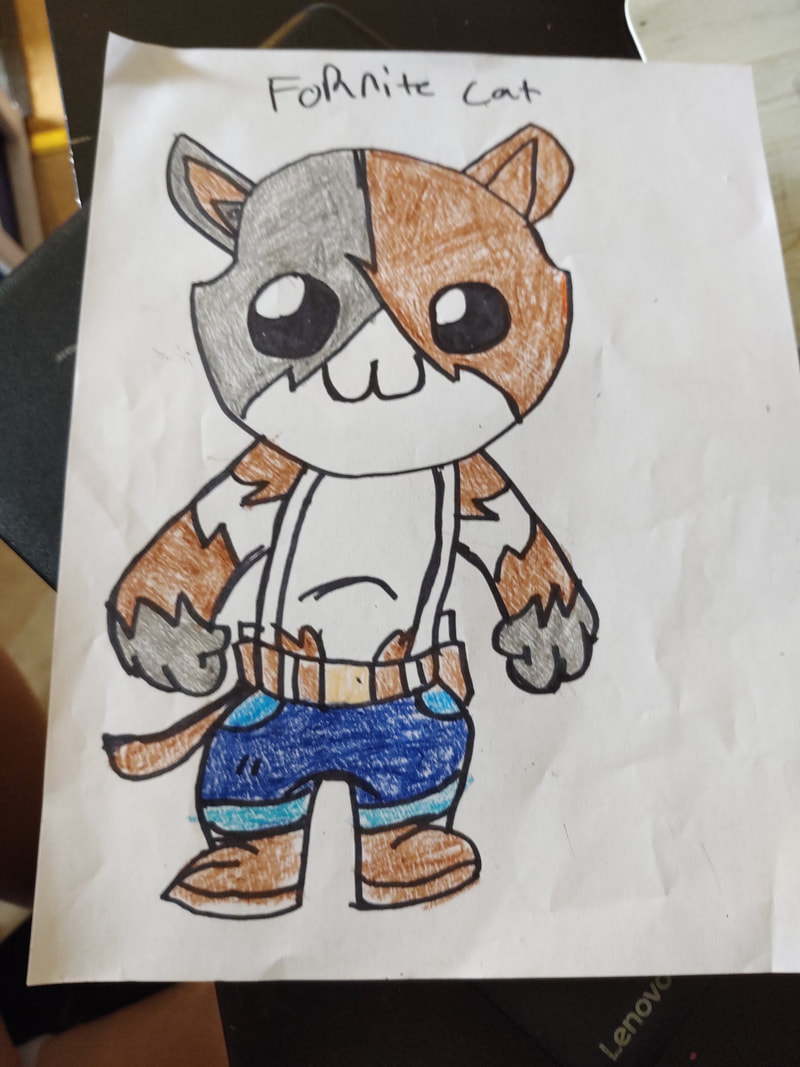
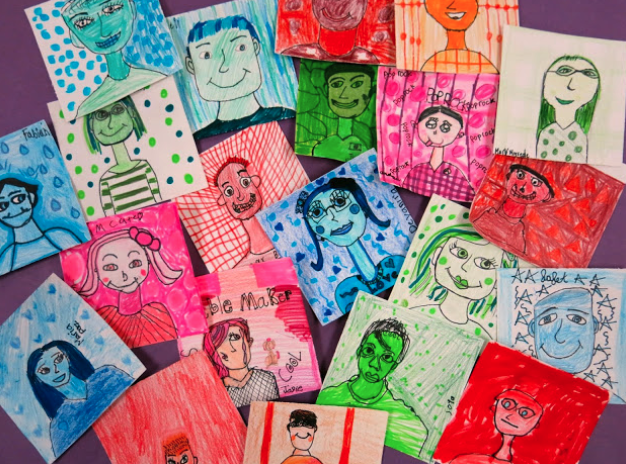
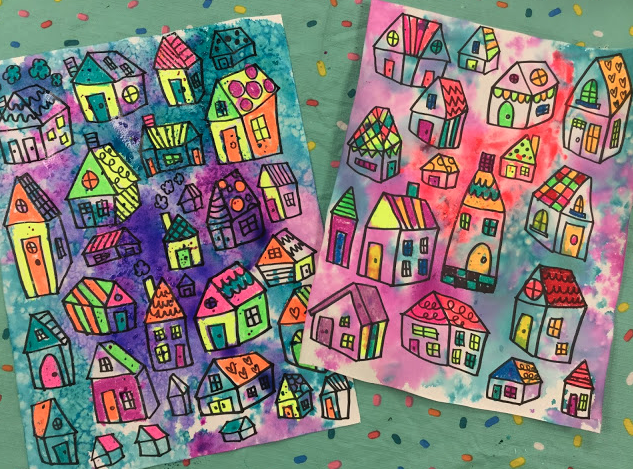
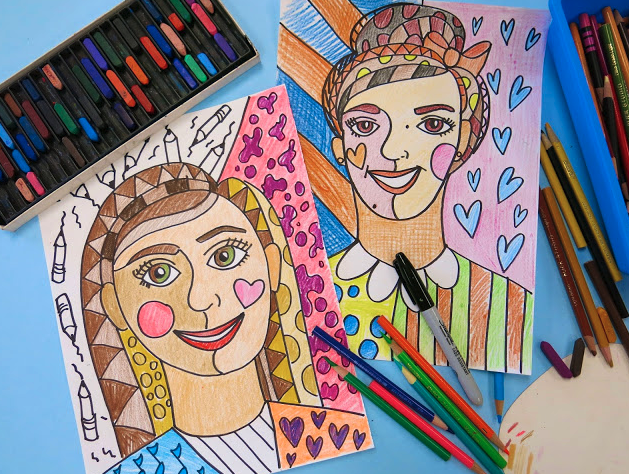
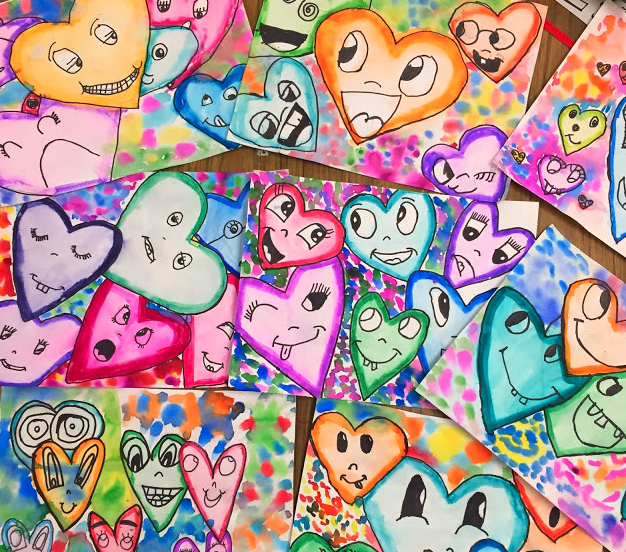
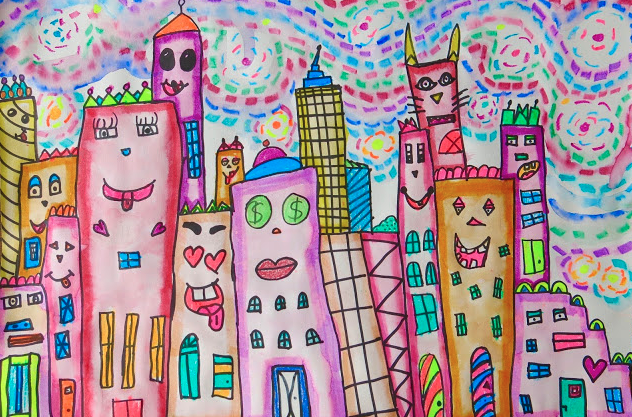
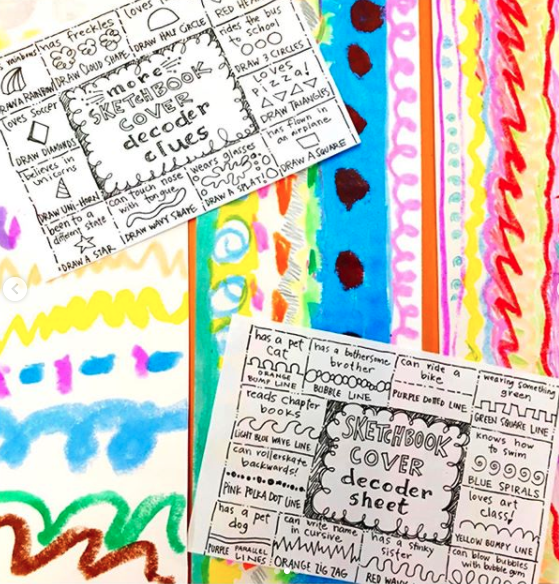
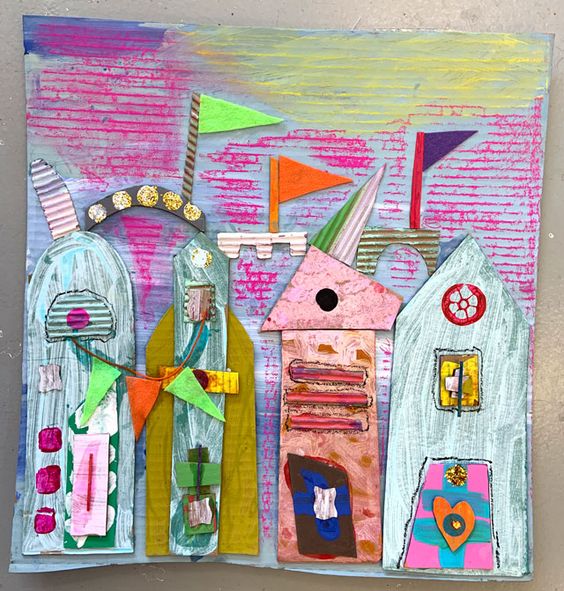
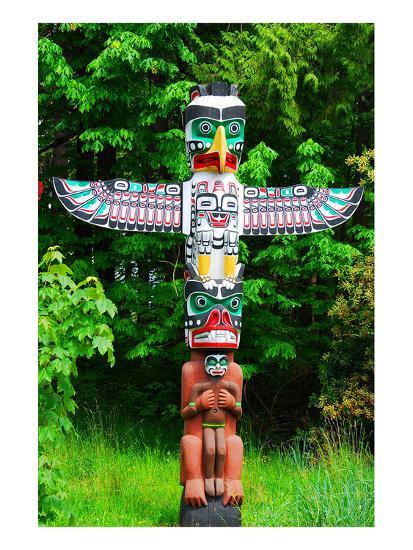
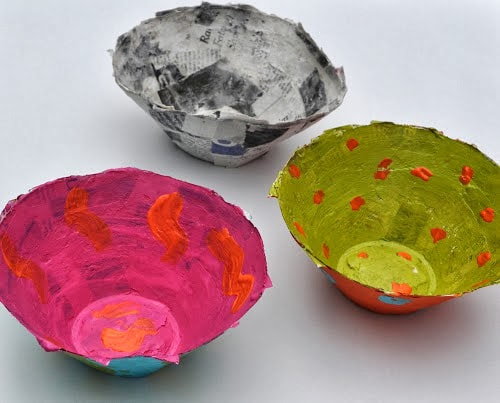
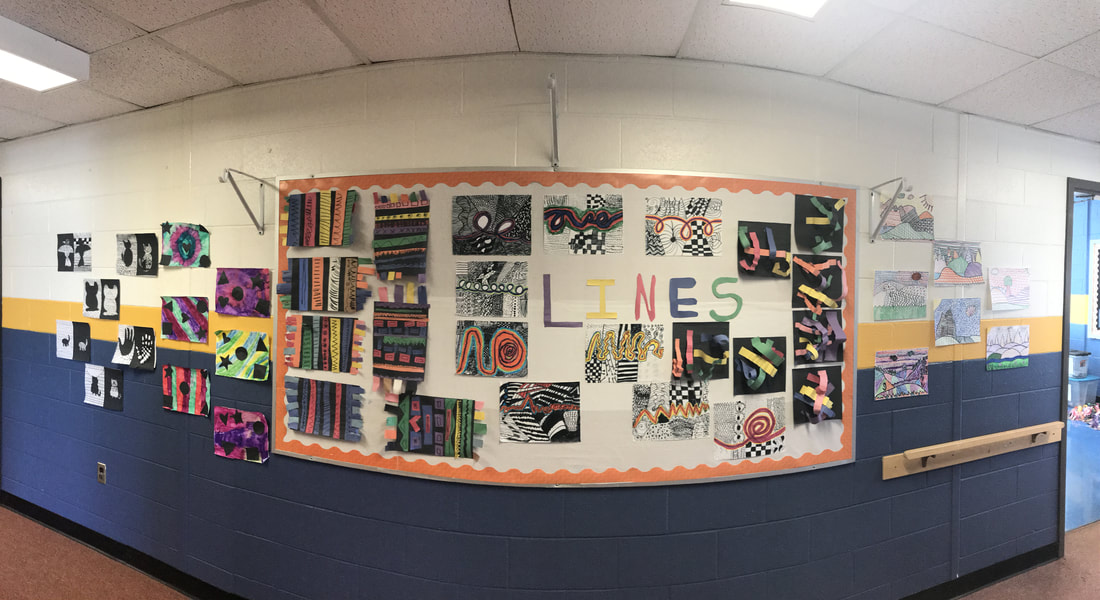
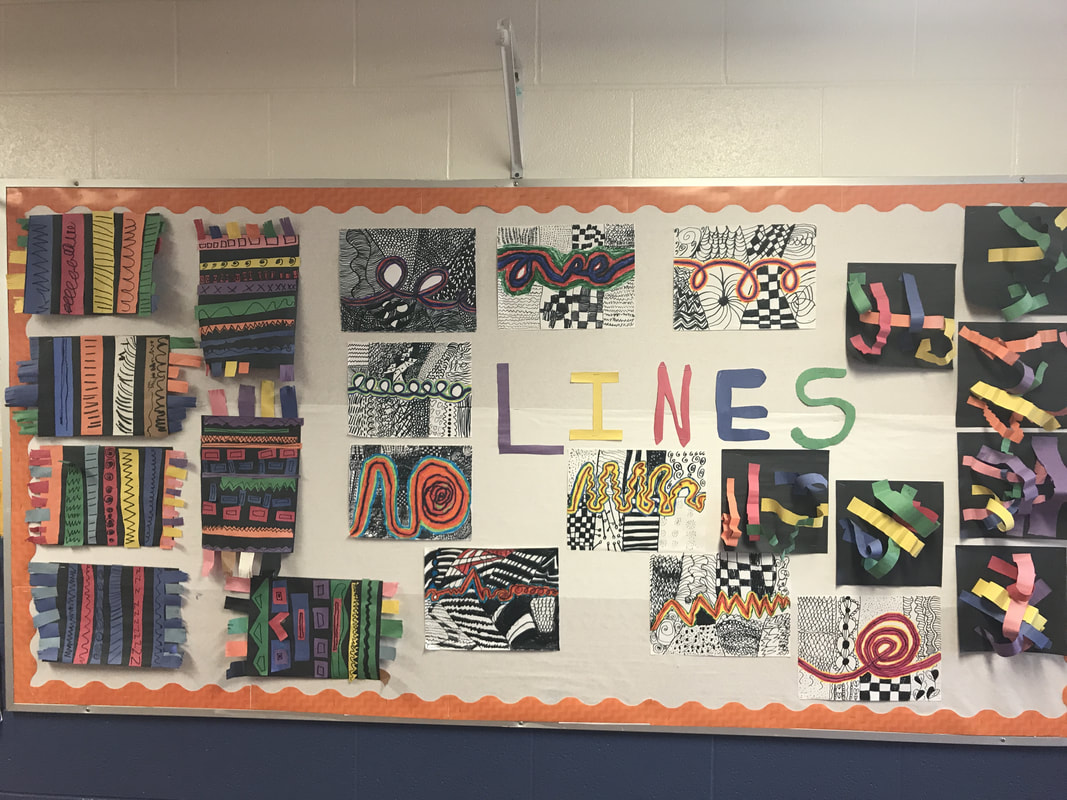
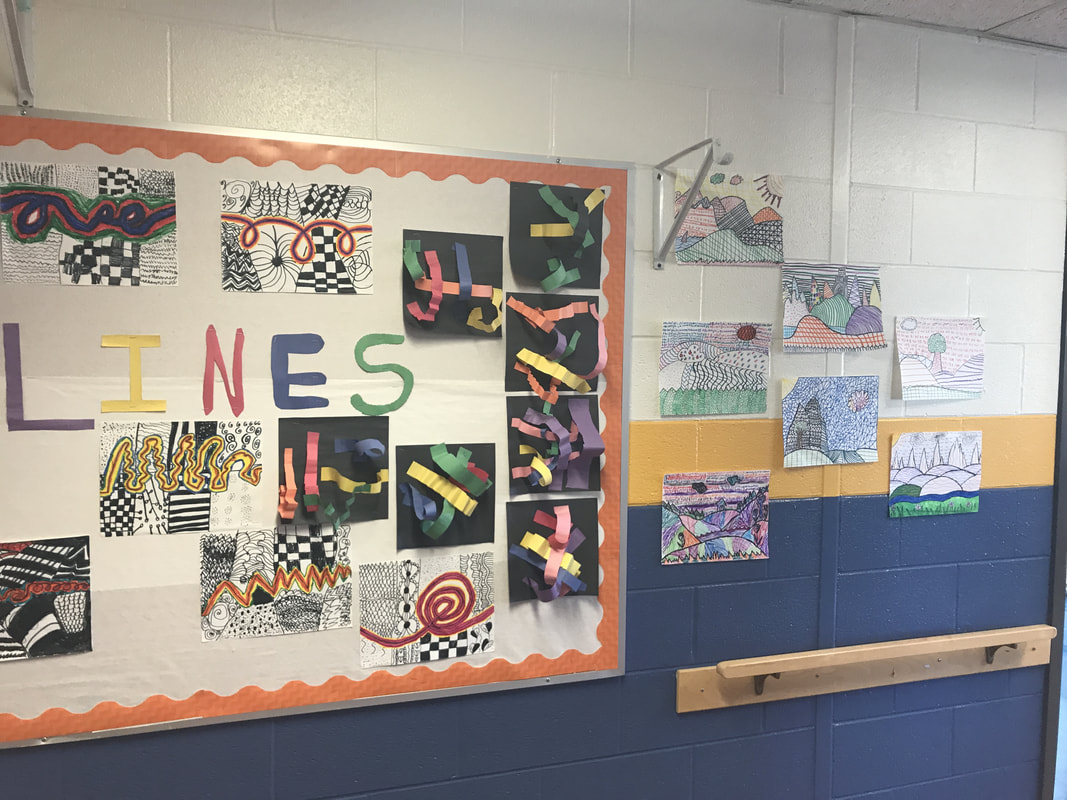
After getting many, many BEAUTIFUL photos of Lacie's artwork I decided to create a "Student Spotlight" post to recognize her and her creativity while we have been out of school! Please enjoy this slideshow of her amazing artwork!! If you would like to be featured in a "student spotlight" keep working on your art at home and send me some pictures!!  YOU GUYS!!! You are blowing me away with all of the art you are doing at home. You have no idea how happy it makes me that you are taking the time to CREATE! I literally get a huge smile on my face every time I open "art mail". I hope it is a good break for you as well. I never want any of the art challenges or assignments to be something you dread or a burden. Have fun, no pressure, just create! This week is the beginning of our remote learning adventure! I will be posting the following on Google Classroom and Dojo (for the classes using Dojo only): Wednesdays - Walnut Cove art lesson of the week Thursdays - London art lesson of the week Fridays - Weekly Art Challenge I am available throughout the day to talk on Google Meets, hangouts, by email, Google Classroom, or however you want to chat! Just let me know and we can make it happen. I would love to see your faces! Keep up the great work!!  Across our country right now many of us are experiencing something we have never experienced before. Our schools are closed for two weeks and after that is unknown. Over the next week I will be preparing lessons for remote learning/e-learning which will go live March 30th. First, I wanted to come on here and update with some ideas of how you can incorporate ART into your plans as we are asked to STAY HOME for a while. I am going to include resources from other amazing art teachers as well as some ideas I have of my own! Art is a great way to release stress, take a brain break, and be creative during these trying times. Let's begin! 1. The fabulous Cassie Stephens who has already begun sharing so many awesome ideas and lessons that can easily be created in the comfort of your own home. Side note: If you don't have the exact supplies she uses just substitute them for another supply you do have! (Example: Substitute markers for crayons/colored pencils, paint for markers...etc.) From monochromatic self portraits to creating your own sketch book, Cassie has detailed YouTube videos and instructional guides on how to create each of these lessons. Thanks, Cassie for creating so many FREE resources for us to share and enjoy! 2. The very informative website called The Art of Education. The Art of Ed has so many resources like 27 Art Activities and Lessons to try at Home that has so many creative options if you don't have traditional art supplies at home. 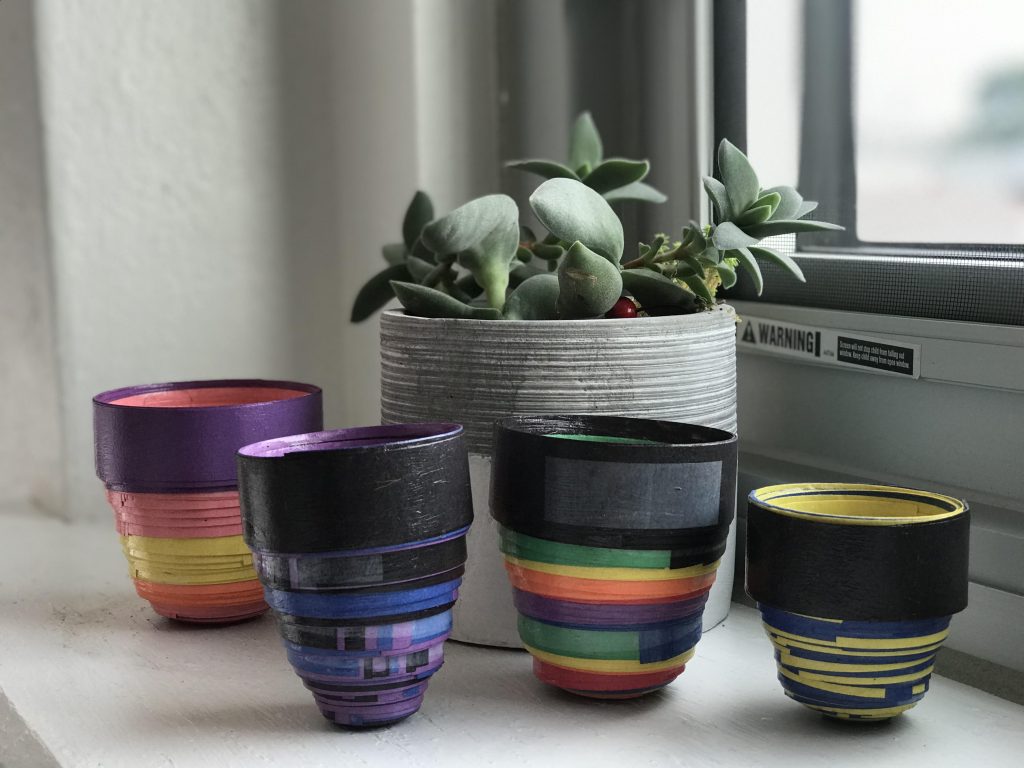 Thank you Art of Ed for all the valuable resources that are being updated EVERY day!! 3. The last few ideas I want to share come from my own art teacherin' brain! -Start saving your toilet paper rolls (sense we seem to be going through so much) and paper towel rolls and use them to create a totem for your family! (You can learn more about totems here) All you need for this project is a toilet paper or paper towel roll and paint, markers, or crayons. -If you're not opposed to getting a little messy then paper-mache is ALWAYS an easy and fun option. You probably have all the materials you need in your pantry! Here is a great recipe and instructional on how to make paper mache out of one part flour and two parts water. You can mold anything out of paper mache including functional bowls! For this project you just need water, flour, microwave OR stovetop, newspaper OR construction paper, and a bowl, balloon or object to use as a mold. -CARDBOARD! The possibilities are endless with just a little cardboard. You can keep it as a box and turn it into a house, rocket ship, car...etc. OR you can cut it up (with adult assistance) and create a picture, a city, animals...etc. Materials needed are cardboard, scissors/box cutter, crayons/markers/paint, glue (optional), and an adult for supervision/assistance. I hope you are able to find some great ideas using any of these resources and of course Pinterest ALWAYS has ideas! You don't have to have a ton of "art materials" at home to create art. Next week I will begin sharing lessons on here as well as in my student's Google Classroom. Every project I do will be mindful of the fact that you may not have paint, glue, scissors, or even markers at home. We are going to BE CREATIVE and use what we can find around our house! Start thinking artfully and save any cardboard, magazines, shoeboxes, toilet paper/paper towel rolls, coffee filters...etc. so we can think outside the box and create awesome art with what we have! I miss all of my students and wish so badly that we could be carrying out our lessons like normal, but I'm hoping we can use this time to expand our creativity and appreciate life, school and family even more. Sending lots of love and healthy thoughts your way!! Our second unit was mostly done while I was on maternity leave, but I was SO excited when I came back because they turned out just like I had imagined (thanks to my AMAZING substitute). In this unit we focused on the element of art: S P A C E. The students learned mostly about positive and negative space. However, when I came back I also quickly taught them how we can use space in our drawings to show overlapping and perspective. In K-2 we used simple shapes and an alternative to water color painting to create positive and negative space. Since I knew this was a project they would be completing with their substitute I decided to use washable markers and water instead of dragging out the water colors. They were able to complete both projects using positive and negative space. In the second project they used crayons and black paint to create a silhouette. The 3-5th graders were only able to complete one project on space because their's was a little bit more complex. They also used their knowledge on lines to create fun zen tangles! Positive space is any thing that takes up space. The example I use is themselves...meaning they take up space where ever they go, therefore they are positive space. Negative space is the space around the positive space. Stay tuned for some COLORFUL artwork as we finish up our unit on COLOR! Remember to ask you child about what they are learning in art!  Lines. Lines. Lines. Lines. Lines are all around you and me! Long and short and thick and thin they'll be, curvy, wavy, broken, fancy, free! Look around how many can you see? Credit for this song goes to Scratch Garden's YouTube channel and the "Line Song"! Look it up with your child and refresh their memory about lines! We started the year off with the most basic element of art...you guessed it...LINE! The kids learned that lines are e v e r y w h e r e. They are even made up of lines! The most important lines I wanted them to learn are also the hardest to keep straight and that's horizontal - , vertical | , and diagonal \ . K-2 created magic carpets with lines! Kindergarten and first grade glued pre-cut colored construction paper on their black paper to create horizontal lines (some even chose to create a pattern!) and then drew the other 7 lines we learned about with a black marker. Second grade is a little more advanced, so they were challenged to cut their own paper into different lines and glue it down...no marker used here! Last, all grades had to add the "tassels" to the ends of their carpet (I think they liked this part the best) 3-5 worked as a table group to create one continuous line spanning over 4 different papers. Sound confusing? It's not! They had to line their papers up side-by-side and draw a line that continued on to the next person's paper. Then they outlined it...first with black marker to establish a nice thick line. Next, they outlined both sides of their black marker 4 times with 4 different colors. Finally, they sectioned off the background and created different line designs in each section! They used examples of zen tangles to get ideas. These turned out GREAT!! They were so bright and colorful! They then continued applying their knowledge of lines with line sculptures and "LINE-scapes". Our next unit is the element of art: S P A C E Thanks for visiting, be on the lookout for teachable moments at home about LINE!  |